Table of Contents
What Is Polygon?
Previously Matic Network, Polygon functions as a framework designed to connect blockchain networks (i.e. interoperability). Polygon seeks to build upon Ethereum’s limitations (poor user experience, throughput, lack of governance). Their solution is a sidechain.
Developers can tailor their needs and launch preset blockchain networks. This means that the creation of sovereign blockchains with a multitude of modules and finely tuned functionality.
What Is MetaMask?
MetaMask is an Ethereum wallet. This allows you to interact and communicate with the Ethereum blockchain in a simple, straightforward fashion. You can also take advantage of Ethereum’s dApps (decentralized applications) and DeFi (decentralized finance).

MetaMask’s strengths
- Popular – Users will enjoy dApps at their disposal
- Simple – With an easy-to-use interface users can easily access their crypto
- Lightweight – You won’t have to worry about downloading the Ethereum blockchain
- Connected – Sending ETH in and out is a breeze
MetMask’s weaknesses
- 3rd party – While technically a non-custodial wallet, MetaMask holds private keys within the user’s browser.
- External nodes – MetaMask relies on external nodes rather than being a full node. Due to this, you may experience downtime or MetaMask from working entirely.
Setting up MetaMask
If you’re new to the space, you may think getting started with MetaMask will be a challenge. You can rest assured knowing that MetaMask is one of the simpler dApps out there.
To begin, you’ll need to download the MetaMask extension to your browser. Most people probably use Chrome but you can also use Chromimum-based browsers such as Brave, Opera, or Firefox. Alternatively, you can download MetaMask for iPhone or Android. In this guide, we will focus on a desktop setup.
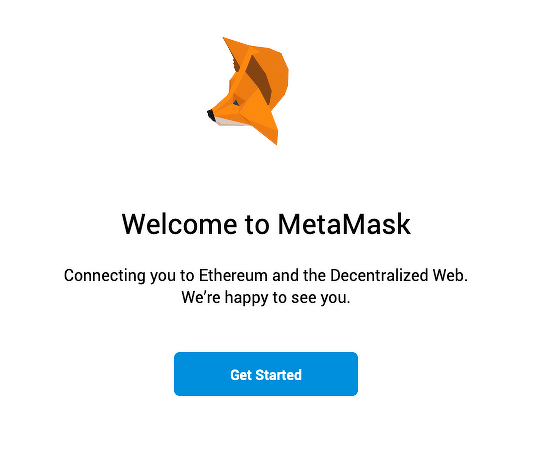
Head to the chrome web store or metamask.io and click “Add to Chrome” to begin the download/install. Once installed, you will see the Welcome to Metamask splash screen. Click “Get Started”.
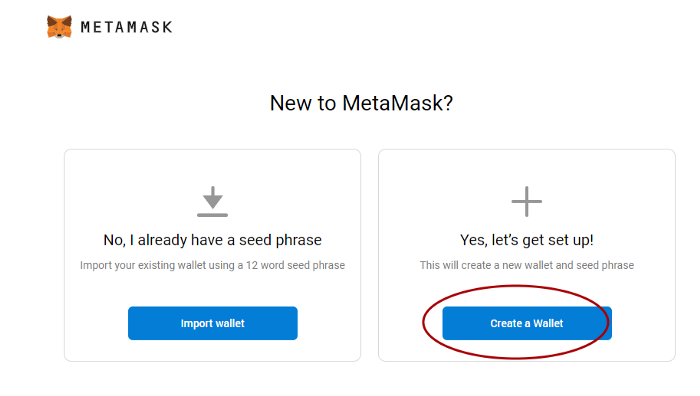
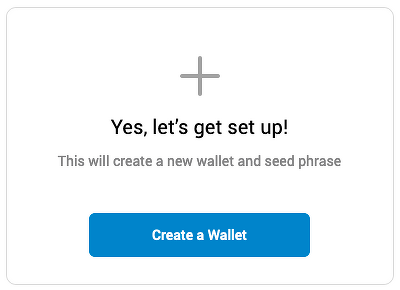
Since we are starting fresh, you’ll want to “Create a Wallet”. If you already had an existing wallet, you would click “Import wallet” (more on that later).
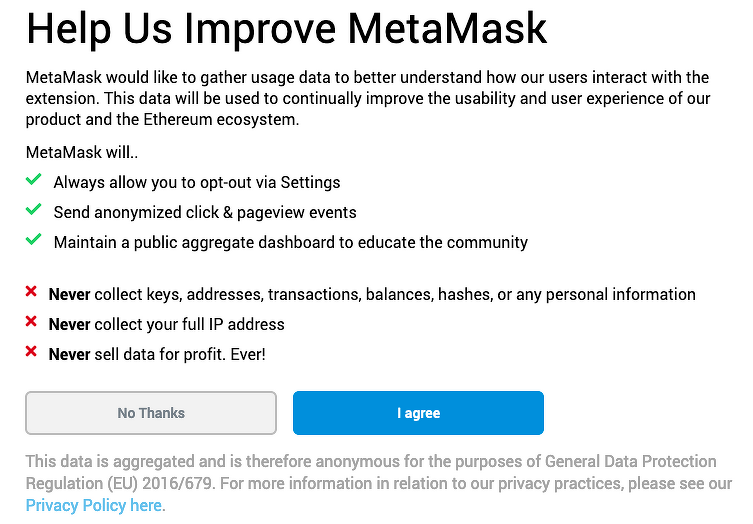
You’ll then be prompted to help improve MetaMask. Click “I agree” if you agree to their terms. If not, click “No Thanks”.
The next step is for you to create a password. The minimum requirement is 8 characters. Be sure to use a new password that you haven’t used for any of your other accounts. Mix it up with upper and lower case letters, symbols, and numbers too.
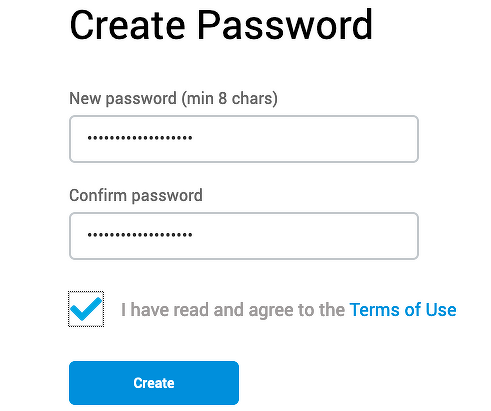
Once you have one set click “Create”.
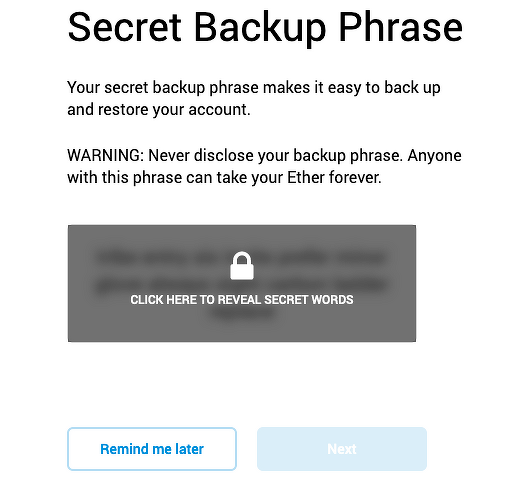
You will be then given your 12-word secret backup phrase. This is a very important step and is not to be taken lightly. If you were to lose access to your computer you would then lose access to your MetaMask wallet. The only way to get back in is with your 12-word secret backup phrase. It is highly encouraged to write down the 12 words and store them in a safe place. Whoever has access to your secret backup phrase has access to your MetaMask wallet and your crypto.
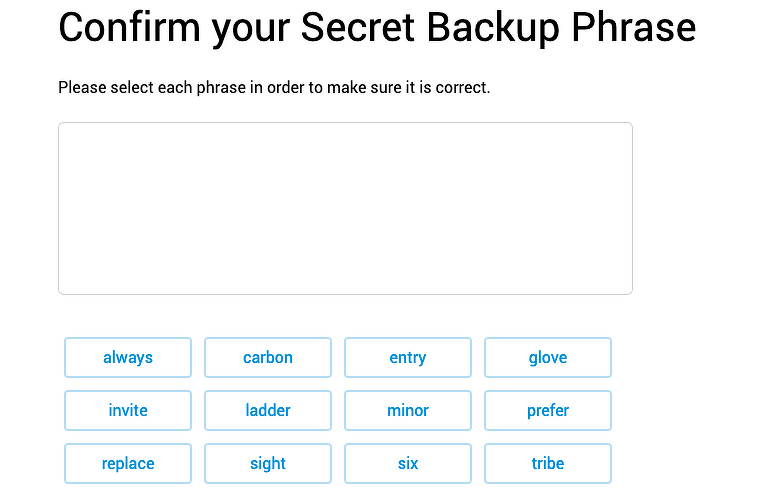
Once written down, you’ll need to confirm the backup phrase.
The initial MetaMask setup is complete. Click “All Done” and you be logged in to MetaMask automatically. If you ever need to log back in, just click on the MetaMask fox icon and enter your password or import using your “Secret Recovery Phrase”.
Connecting to the Matic Network
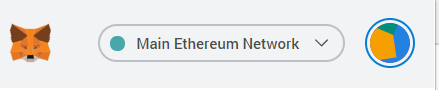
Now that you have your MetaMask setup, let’s move on to connecting it to the Matic Network. The first thing you’ll need to do is switch the network from the default Ethereum Network.
Since it’s not listed, you’ll need to add it manually. Click on “Custom RPC”.

Enter in the following Matic Mainnet settings:
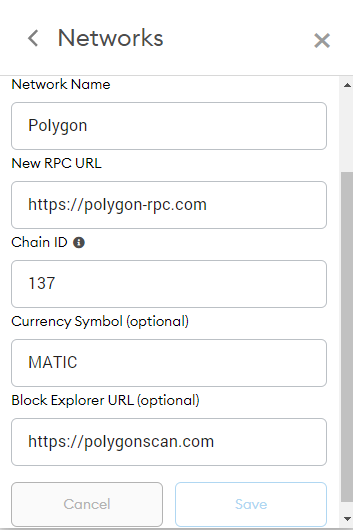
- Network Name: Polygon
- New RPC URL: https://polygon-rpc.com/, https://rpc-mainnet.matic.network/, https://rpc-mainnet.maticvigil.com/, https://rpc-mainnet.matic.quiknode.pro/ (enter one above)
- ChainID: 137
- Symbol: MATIC
- Block Explorer URL: https://polygonscan.com/
Click “Save”. You have now completed the Polygon/Matic Network setup with MetaMask.