In this post, we get an insight into what Infura is and then set up an account with Infura. We will also see some internal operations of Infura and a few salient parameters in Infura settings. So let’s begin.
Table of Contents
Overview of Infura
We have multiple Ethereum clients such as Parity, Geth, and many more that help us to connect to the main Ethernet blockchain. After connecting to the mainnet, it is possible to download the whole blockchain and then operate as a full node and interact with the blockchain. However, this is a very tedious process as it consumes 500+ GB of memory and an enormous amount of time to download and connect to the mainnet. Here is where Infura comes into the picture and solves these problems for us.
Infura is a popular technology that helps us connect to the blockchain without having to download gigabytes of information, as it provides us with full nodes for free. Infura provides ready-to-use Ethereum instances to millions of users, allowing them to connect to the blockchain. It’s one of the principal projects aimed at revolutionizing Ethereum adoption because anyone can connect to Ethereum and conduct transactions and interact with the blockchain right now.
Infura Inner Workings
A picture speaks a thousand words, hence let’s see how the Infura actually works in practice. See the below diagram.
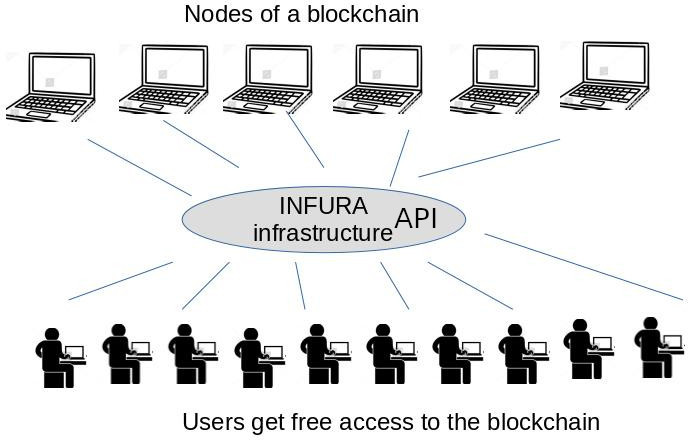
Behind the scenes, there are tens of thousands of computers deployed with the latest version of the Ethereum blockchain already downloaded, having all the transactions, and ready to use. Infura infrastructure provides you with a clean, and easy-to-use API for all the users to connect to the Ethereum mainnet, and testnets such as Rinkeby, Kovan, Ropsten, etc. Thus users get immediate access to different Ethereum chains without any hassles.
Registering at Infura
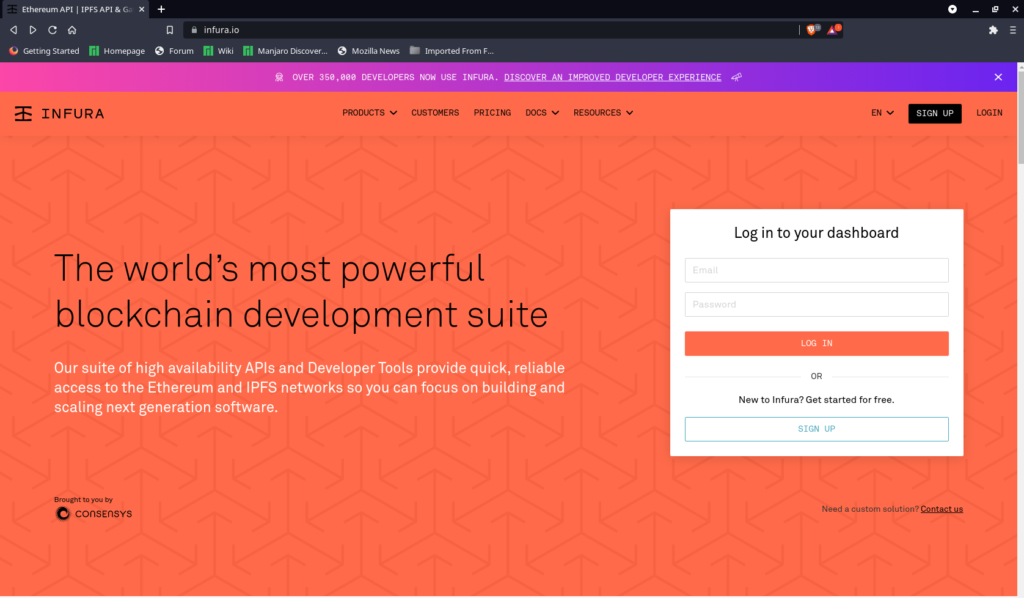
Registering and using Infura is totally free, but also there are paid plans if you need more requests per day and more customer support. In this article, we will use the regular free account to register. To do the same go-to Infura, with this weblink https://infura.io/ as seen below.
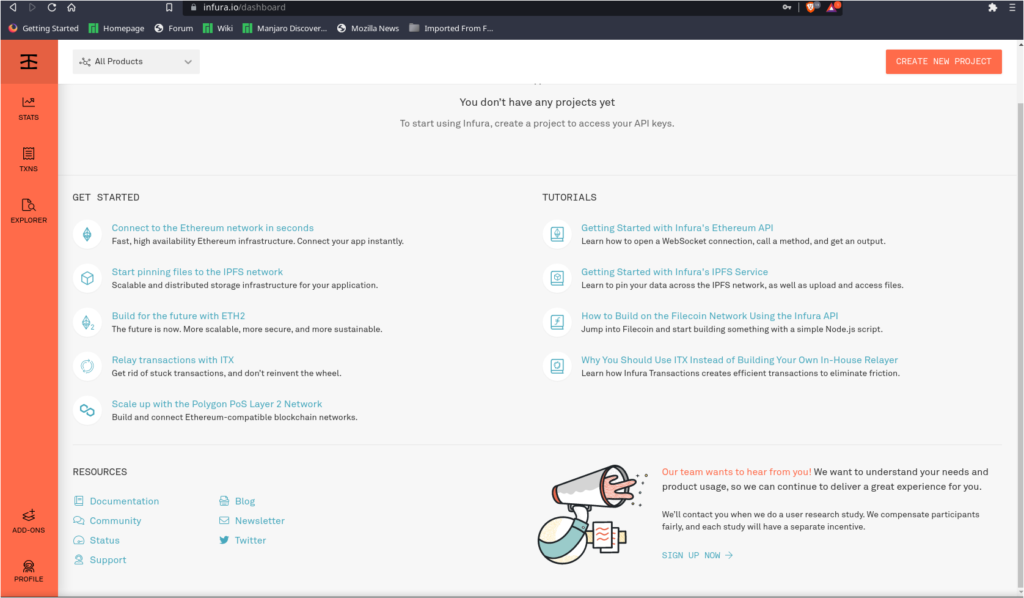
After signup with your email id and password and later confirming your email id you can log in with your credentials. After logging in, you can go to the dashboard as shown here.
Creating Projects
You can now create new projects on Infura. To do the same click on the CREATE NEW PROJECT option (see on the upper right corner of the above image) and provide the project name of type Ethereum. For now, we can ignore the other types of projects as we are mostly concerned with the Ethereum smart contracts.
Here, I created an example project called “copyright” (you can use any name that you want).
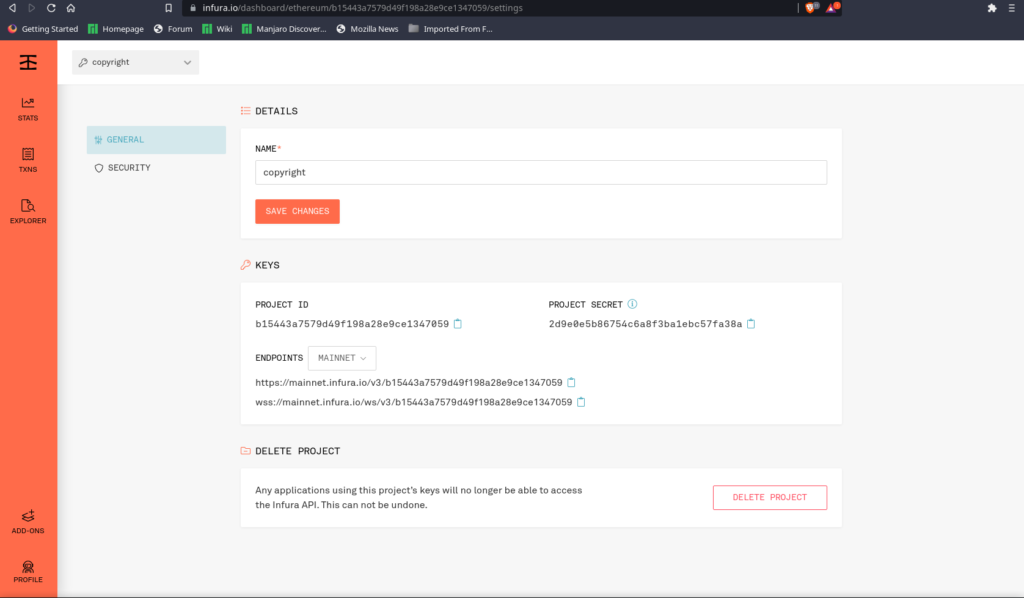
Finally, note the PROJECT ID and the PROJECT SECRET are as per your project. Each project will have a different ID and secret. You can also choose the endpoints that you want to communicate. The endpoints are the Ethereum network types such as Mainnet and testnets such as Ropsten, Kovan, Rinkeby, etc. Using the endpoints it is possible to communicate with these networks for any kind of transactions such as sending Ether from one account to another, deploying smart contracts, smart contract interaction, etc. See the below figure on the types of networks supported by Infura.
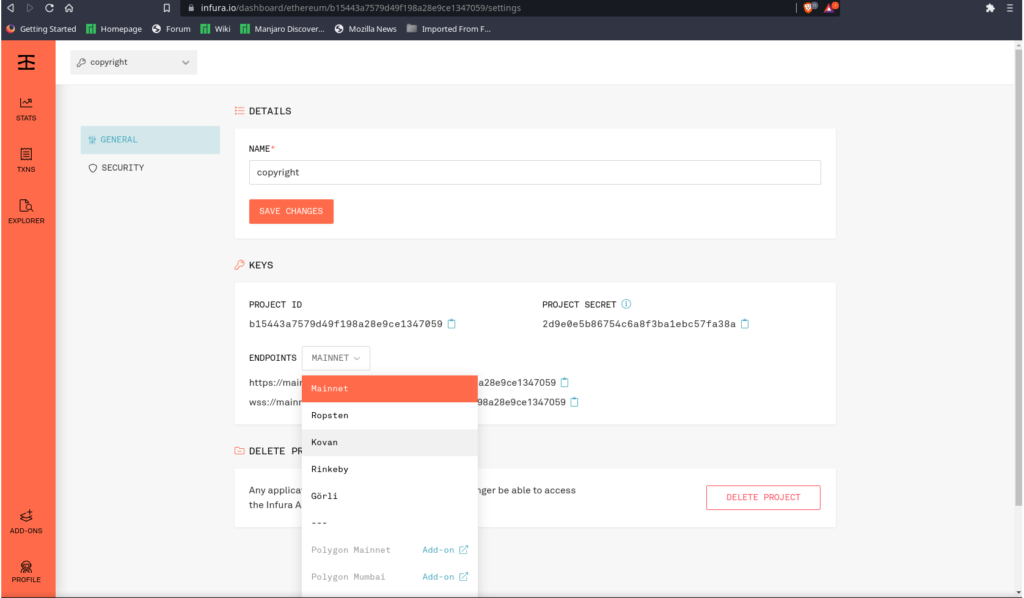
Based on the type of network type selected, the HTTPS and WSS (web socket) components change accordingly. Using these endpoints it is possible to communicate with the smart contracts. You can create multiple projects and each project will have a unique project ID and secret.
Conclusion
In this post, we covered what Infura is and then successfully created an account and then created a project. It is important to keep these credentials i.e. ID and secret on a paper or some file and not make them public, else anyone can easily hack into your accounts. In the next post, we will use Infura to deploy and interact with our smart contract on the Ethereum testnet.